
Article At A Glance
- Canning works by heating food to kill spoilage microorganisms, then sealing it in a jar to keep air and bacteria out for good.
- Water bath canning suits high-acid foods like fruit and pickles, while low-acid vegetables require a pressure canner reaching 240°F to destroy dangerous bacteria spores.
- You don’t need fancy equipment to start—just standard canning jars, new lids, a canner, and a jar lifter will get you going.
- Learn exactly how acidity, heat, and timing work together to keep your canned vegetables safe for a year or longer.
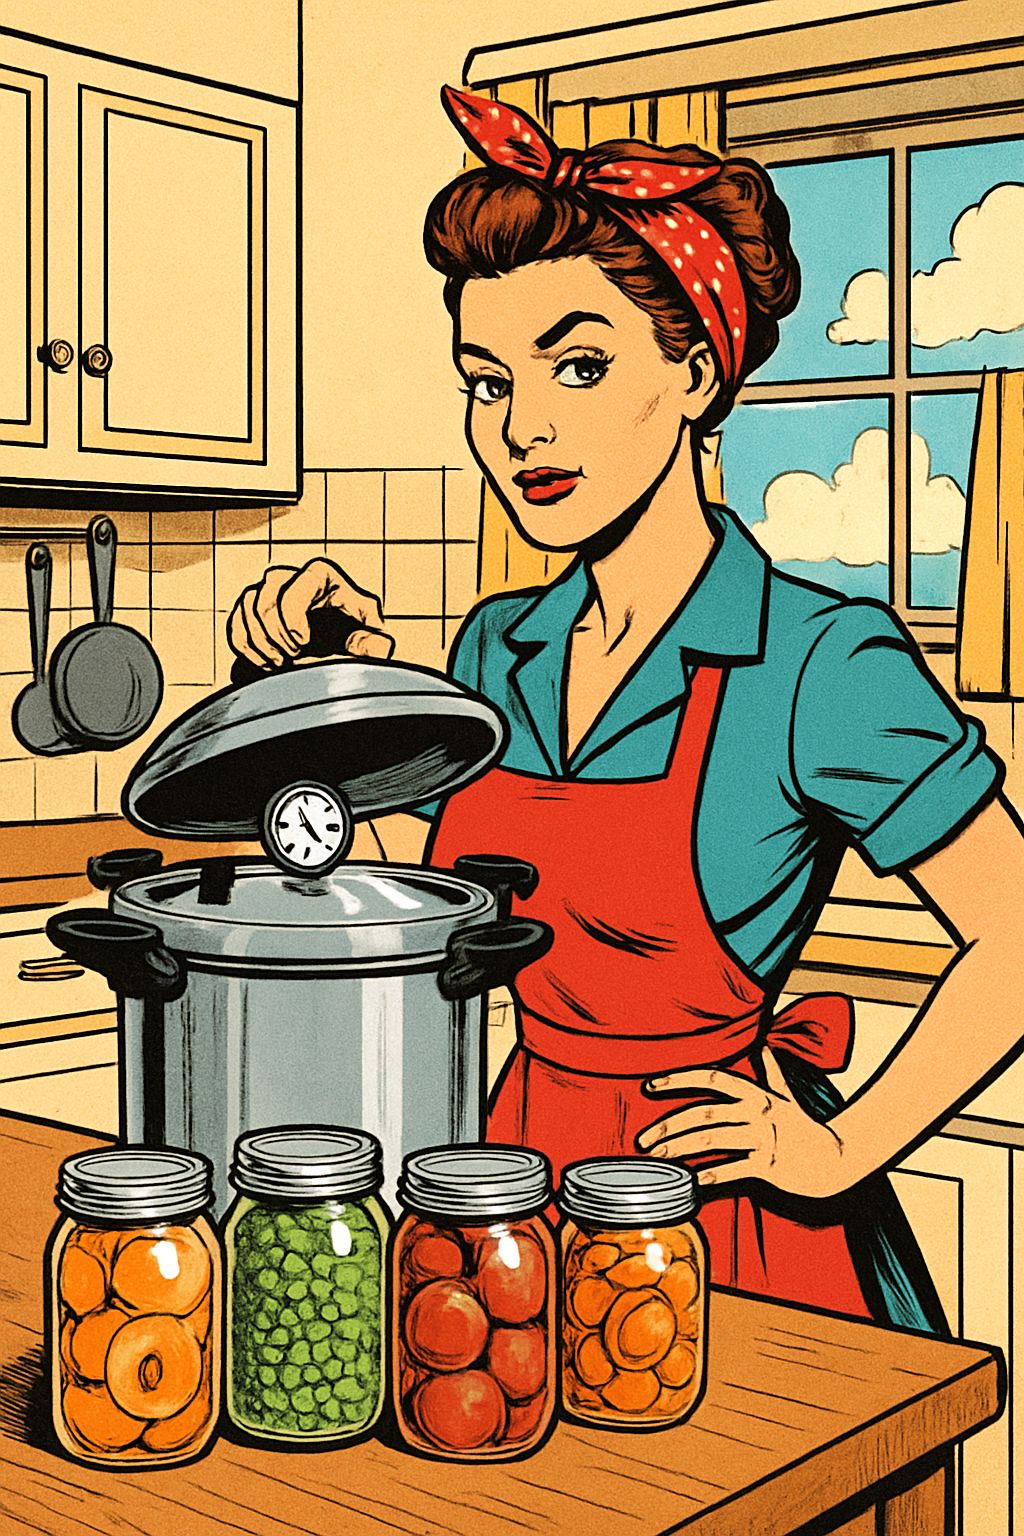
Your grandmother’s pantry wasn’t just stocked with jars—it was stocked with confidence, and that confidence is something you can build too.
Home canning sounds intimidating until you break it down into what it actually is: a controlled process of heating food to kill spoilage organisms, then sealing it away from air before anything new can grow. Once you understand that core idea, the rest is just following specific steps for specific foods.
Why Canning Belongs in Every Skillset
Preserving your own vegetables isn’t just nostalgic—it’s practical. Canning and freezing remain the two most common ways to preserve vegetables at home, and while freezing is faster, canning tends to be more economical over time. You’re trading a bit of extra labor upfront for jars that sit safely on a shelf without using any electricity at all.
That tradeoff matters more than people realize. A freezer full of vegetables disappears the moment the power goes out for a few days. A shelf of properly canned green beans doesn’t care about power outages, and that kind of food security is part of why canning has stuck around for over a century.
Water Bath Canning vs Pressure Canning: Which One You Need
There are really only two canning methods you need to know, and which one you use depends entirely on what you’re canning. Water bath canning works by submerging sealed jars in boiling water at 212°F, and it’s the method for high-acid foods like pickles, salsas, chutneys, and most fruit.
Pressure canning is a different animal. It uses steam pressure to push the internal jar temperature up to 240°F, which is hot enough to destroy the bacterial spores that boiling water alone can’t touch. Low-acid vegetables—think green beans, carrots, corn, and beets—require pressure canning every single time. Skipping this step isn’t a shortcut; it’s a safety risk.
High-Acid Foods vs Low-Acid Foods Explained
Acidity is the dividing line between these two methods, and it comes down to one bacterium: Clostridium botulinum. This organism produces a toxin that thrives in low-oxygen, low-acid environments—exactly the conditions inside a sealed jar of vegetables.
High acid foods create an environment where this bacteria simply can’t grow, so boiling water at 212°F is enough to make them shelf-stable. Low-acid foods don’t have that natural protection, so every spore has to be killed through high heat instead. That’s why vegetables always need a pressure canner reaching 240°F, with no exceptions.
Why Beginners Should Start With Water Bath Canning
If you’ve never canned anything in your life, start with water bath canning. It’s simpler, requires less specialized equipment, and the margin for error is wider than with pressure canning. Early wins matter here—canning your first batch of pickles successfully builds the confidence you’ll need before tackling a pressure canner full of green beans.
Equipment You Need Before You Start Canning
You don’t need to buy out a kitchen supply store to get started. A short list of core tools covers almost everything you’ll do in your first year of canning:
- A water bath canner with a rack (consider a second one if you plan on doing large batches)
- The best pressure canner you can afford, since this tool needs to last
- Standard canning jars in brands like Ball or Kerr, which can be reused indefinitely as long as rims are free of nicks
- New lids for every single canning session—never reuse old ones
- A jar lifter, which is genuinely a must-have rather than a nice-to-have
Many first-time canners buy a complete canning kit that bundles these tools together, which simplifies the shopping process considerably.
Standard Canning Jars: Why Tempered Glass Matters
Not just any glass jar will do. Standard canning jars are tempered—specially heat-treated to withstand the 240°F temperatures reached inside a pressure canner. Regular jars from spaghetti sauce or mayonnaise can crack under that heat, so stick with purpose-made canning jars every time.
Before you fill any jar, run your fingers along the rim checking for nicks or chips. Even a tiny imperfection can prevent a proper seal, and a jar that won’t seal is a jar of food that will spoil. If you find damage, toss the jar rather than risk it.
Wide mouth jars are worth considering too, since many canners find it easier to clean and pack food into a jar they can actually get their hand inside.
New Lids Every Time, Reusable Screw Bands
Canning lids are single-use by design. The sealing compound on the underside only works once, which means you need fresh lids every single time you can—no exceptions, no shortcuts. Screw bands are the opposite story: as long as they’re not rusty or bent, you can reuse them indefinitely. If you’re interested in other food preservation methods, consider exploring dehydrating and freeze-drying food as alternatives.
Water Bath Canner With Rack
A water bath canner is essentially a large pot with a rack that keeps jars off the direct heat source and allows water to circulate underneath them. This rack matters more than it sounds like it would—without it, jars can crack from direct contact with the pot’s bottom.
Pressure Canner: Buy the Best You Can Afford
Your pressure canner is the one piece of equipment where quality really counts, since this tool is doing the heavy lifting of keeping low-acid vegetables safe. Inside the canner, water is added and the lid sealed tightly; as the water boils, it turns to steam that drives out all the air. Once the petcock (valve) is closed, pressure builds until it hits 10 pounds and the internal temperature reaches that critical 240°F mark.
Good pressure canners come with built-in safety features too. A rubber safety plug will pop out if pressure climbs above 20 pounds, releasing steam before things get dangerous. A second safeguard—a metal safety plug made from an alloy that melts under excess heat—offers a backup line of defense if the first one fails. For more insights on food preservation, you might want to explore dehydrating and freeze-drying food.
Jar Lifter and Other Canning Kit Essentials
Pulling boiling-hot jars out of a canner with your bare hands isn’t an option, which is where a jar lifter earns its keep. Paired with a complete canning kit, you’ll have the funnel, bubble remover, and headspace tool you need without hunting down each item separately.
The Science Behind Food Spoilage
Understanding why food spoils in the first place makes every canning instruction make sense instead of feeling arbitrary. Three categories of microorganisms are responsible for most spoilage: molds, yeasts, and bacteria. All three live naturally in soil, water, and air, and all three will happily move into your food if given the chance.
Molds, Yeasts, and Bacteria: What They Do to Your Food
Molds show up as fuzzy patches, ruining both the taste and sometimes introducing toxins into your food. Yeasts work differently, fermenting food and producing gases along with off-flavors. Both molds and yeasts need air to survive, which is exactly why heat and proper sealing shut them down so effectively. For alternative preservation methods, consider dehydrating and freeze-drying food.
Bacteria are the trickiest of the three. Spoilage symptoms range from a mild sour taste all the way to dangerous poisoning, and some bacteria actually thrive in a vacuum without any air at all—which is precisely the environment inside a sealed canning jar if it isn’t processed correctly.
How Enzymes Cause Vegetables to Break Down
Enzymes are a separate issue entirely from microorganisms. These chemical substances exist in all living things and are responsible for changes in flavor, texture, color, and nutritional value over time. Left unchecked, enzymes will eventually spoil vegetables even without any bacterial involvement.
Here’s the good news: enzymes are destroyed by heat, which means proper canning temperatures handle this problem automatically. The bad news is that cold doesn’t stop enzymes the way it stops bacteria—it only slows them down, which is part of why frozen vegetables still have a shelf life.
Heat and Cold: Your Two Weapons Against Spoilage
Heat and cold work as opposite strategies against the same enemy. Cold slows microorganisms and enzymes down without killing them, which is why freezing works but only for a limited time. Heat, applied correctly and for long enough, actually destroys both the microorganisms and the enzymes causing spoilage—which is exactly why canned food can last on a shelf for a year or more without refrigeration.
Acidity Rules That Keep Your Canned Food Safe
Every canning rule traces back to one simple question: how acidic is this food? Get that answer right, and the rest of the process falls into place.
Why Clostridium Botulinum Is the Real Threat
Clostridium botulinum is the bacterium behind nearly every home canning safety warning you’ve ever heard, and for good reason. It produces a toxin that can cause serious illness and even death, and it thrives specifically in the low-oxygen, sealed environment a canning jar creates. The bacterium’s spores are tough—they survive boiling water with ease, which is exactly why low-acid foods can’t rely on a water bath canner alone.
How Acid Levels Determine Your Processing Temperature
Acidity decides everything. In water bath canning, the acid itself prevents toxic bacteria from growing, so 212°F is plenty hot. In pressure canning, there’s no acid to lean on, so the high heat of 240°F has to do all the work of killing spores directly. Low-acid vegetables like beans, carrots, and corn always fall into this second category, with zero exceptions worth risking. For those interested in exploring alternative preservation methods, dehydrating and freeze-drying food are options that depend on different factors.
Selecting and Prepping Vegetables for Canning
Good canning starts long before the jar ever touches a canner—it starts in the garden or at the produce stand. Canning can preserve a vegetable’s quality, but it can’t fix a vegetable that was already past its prime when you picked it.
That means selection matters just as much as technique. A soft, overripe carrot canned perfectly is still a mediocre jar of carrots six months later.
Pick Fresh, Young, and Tender Produce Only
Only fresh, young, tender vegetables belong in your canning jars. Mature, tough, or overripe produce won’t improve once it’s processed—whatever flaws exist going in will still be there coming out.
Why Speed From Garden to Jar Matters
The clock starts ticking the moment a vegetable is picked. The quicker you move from harvest to canner, the better the final product turns out, since enzymes and bacteria begin their breakdown work immediately after picking.
Washing and Cooling Vegetables Before Canning
Rinse your vegetables in several changes of cool water right after picking. This step does double duty—it cools the produce down and washes away surface bacteria and garden dirt at the same time. From there, refrigerate anything you’re not canning immediately, and get to the jar as quickly as you reasonably can.
Raw Pack vs Hot Pack: Choosing Your Method
Once your vegetables are prepped, you’ll choose between two packing methods, and the right choice depends on the vegetable and your own preference for convenience versus density.
Raw Pack Advantages and When to Use It
Raw packing means skipping any precooking and loading vegetables straight into the jar. It’s the lower-effort option—there’s barely any prep work, you’re unlikely to overpack a jar by accident, and cleanup is minimal since you’re not dirtying a separate pot.
Hot Pack Method Step-by-Step
Hot packing takes a bit more effort but often produces a better-packed jar. You place the vegetables in a pan, cover them with water, bring everything to a boil to precook, then pack the hot vegetables into jars along with the boiling cooking liquid, leaving the correct head space as you go.
Head Space, Exhausting, and Vacuum Seals Defined
A few terms will show up again and again once you start following recipes, so it helps to know them cold. Head space is simply the gap left at the top of the jar after filling. Precooking refers to the brief boiling step used in hot packing. Processing is the heating that happens once jars are loaded into the canner. Exhausting describes the venting of steam during pressure canning, which forces air out before pressure starts building.
Step-by-Step Guide to Pressure Canning at Home
With vegetables prepped and your packing method chosen, the actual canning process comes down to a handful of repeatable steps.
Packing Your Jars Correctly
Fill jars according to whichever method your recipe calls for, leaving the specified head space—usually around an inch for most vegetables. Add salt if your recipe calls for it, typically a half teaspoon for pints and a full teaspoon for quarts, then cover with boiling water or cooking liquid.
Removing Air Bubbles and Wiping Jar Rims
Run a thin tool down the inside of the jar to release trapped air bubbles, then wipe the rim clean with a damp cloth. Any food residue left on the rim can prevent the lid from sealing properly, so don’t skip this step even when you’re in a hurry.
Loading the Canner and Exhausting Steam
Load your filled jars into the pressure canner, add water as directed, and seal the lid tightly. As the water heats and turns to steam, that steam needs to drive all the air out of the canner before you close the petcock. This exhausting step isn’t optional—trapped air prevents the canner from reaching its full temperature even when the pressure gauge looks correct.
Processing Time and Pressure Control
Once the petcock is closed, pressure builds until it hits 10 pounds and the internal temperature reaches 240°F—hot enough to destroy botulinum spores. From there, processing times vary by vegetable and jar size, so follow your specific recipe closely rather than estimating.
Cooling Down Before You Open the Lid
Resist the urge to rush this part. Let the canner cool naturally and the pressure drop back to zero on its own before you even think about opening the lid. Opening early can cause liquid to siphon out of jars or, worse, create a dangerous pressure release.
How to Test Your Jar Seals and Store Your Food
The moment of truth comes after your jars have cooled completely, usually 12 to 24 hours after processing.
Checking for a Proper Vacuum Seal
Press down on the center of each lid. If it’s firm and doesn’t flex, you’ve got a seal—the vacuum that formed as the jar cooled has pulled the lid down tight. A lid that pops up and down under pressure means no vacuum formed, and that jar isn’t safe for long-term storage.
What to Do With Unsealed Jars
Don’t panic if a jar didn’t seal within 24 hours. You’ve got two options: freeze the contents right away, or re-can the food using a brand new lid. Before you re-can, check the jar rim for chips—if you find damage, toss the jar entirely rather than risk another failed seal.
Labeling and Storing Sealed Jars Long-Term
Label each jar with the contents and the date before tucking it away in a cool, dark, dry spot. Home-canned vegetables are best used within a year, though they’ll remain safe longer with a gradual decline in quality and nutritive value.
Canning Directions for Popular Vegetables
Processing times and yields vary by vegetable, but the pattern stays consistent: wash, prep, pack, and process at either 11 pounds pressure (dial gauge) or 10 pounds (weighted gauge).
|
Vegetable |
Yield |
Pint Processing Time |
Quart Processing Time |
|---|---|---|---|
|
Green Beans |
1 bushel (30 lbs) = 15-20 quarts |
20 minutes |
25 minutes |
|
Beets |
1 bushel (52 lbs) = ~20 quarts |
30 minutes |
35 minutes |
|
Carrots |
1 bushel (50 lbs) = ~20 quarts |
25 minutes |
30 minutes |
|
Fresh Lima Beans |
1 bushel (30 lbs) = 7-8 quarts |
40 minutes |
50 minutes |
|
Green Peas |
1 bushel (30 lbs) = 12-15 pints |
40 minutes |
N/A (pints only) |
Green Beans: Raw Pack and Hot Pack Instructions
Snap the ends off washed beans and cut them into 1-inch pieces. For raw pack, load the beans tightly into jars and cover with boiling water. For hot pack, boil the beans in water for 5 minutes first, then pack them loosely with the hot cooking liquid. Either way, leave a half-inch of head space and add salt before processing.
Beets: Prepping and Processing Times
Trim the tops, leaving an inch of stem and root attached, then boil until the skins slip off easily—usually 15 to 25 minutes depending on size. Baby beets can stay whole, while larger ones should be cubed or sliced before packing hot into jars with a full inch of head space.
Carrots: Raw Pack and Hot Pack Instructions
Wash and scrape your carrots, then slice or dice them. Raw pack means loading them straight into jars and covering with boiling water; hot pack means boiling them briefly first and packing them hot with the cooking liquid. Both methods use the same processing times.
Fresh Lima Beans: Raw Pack and Hot Pack Instructions
Shell and wash your beans before packing. For raw pack, don’t press or shake the beans down into the jar—just let them settle naturally. For hot pack, boil the shelled beans briefly first, then pack them loosely with the hot liquid.
Green Peas: Raw Pack Processing Guide
Shell and wash the peas, then pack them loosely into jars without pressing down—overpacking peas can prevent heat from penetrating evenly during processing. Cover with boiling water, leaving an inch of head space, and process according to your gauge type.
Your Next Steps Toward Canning Confidence
Start small. Pick one vegetable, follow the directions exactly, and let that first successful seal build your confidence before you move on to a bigger batch or a new recipe. If you’re interested in expanding your skillset, consider learning basic woodworking skills to complement your canning journey.
Frequently Asked Questions
Can I Use Any Mason Jar for Pressure Canning?
No. You need standard canning jars that are specially tempered to withstand the 240°F temperatures reached inside a pressure canner—repurposed food jars aren’t built for that heat.
How Do I Know If My Pressure Canner Gauge Is Accurate?
Many local extension offices test dial gauges for accuracy each season, and it’s worth doing this check annually since an inaccurate gauge can lead to under-processed, unsafe food.
Why Did My Canned Vegetables Not Seal Properly?
The most common culprits are food residue on the jar rim, a chipped jar edge, or a lid that wasn’t new. Check all three before re-canning or freezing the contents instead.
Is It Safe to Reuse Canning Lids?
No—lids are single-use because their sealing compound only works once. Screw bands, on the other hand, can be reused as long as they’re not rusty or bent.
How Long Do Home-Canned Vegetables Last on the Shelf?
They’re best used within a year, though they’ll stay safe to eat longer with a gradual decline in quality and nutrition.




Leave a Reply