
Article At A Glance
- A twin-bucket toilet system costs less than $20 to build and can keep your household safe for weeks without working sewer lines.
- Separating urine from feces (the “no-mix” method) cuts down on smell and slows bacterial growth dramatically.
- Human waste can never go in regular household trash—it requires double-bagging and separate storage until sanitation services return.
- Sanitation resources can help you source pre-made kits if building your own feels overwhelming.
- Learn exactly how many pathogens live in a single gram of waste—and why that number should change how you prepare.
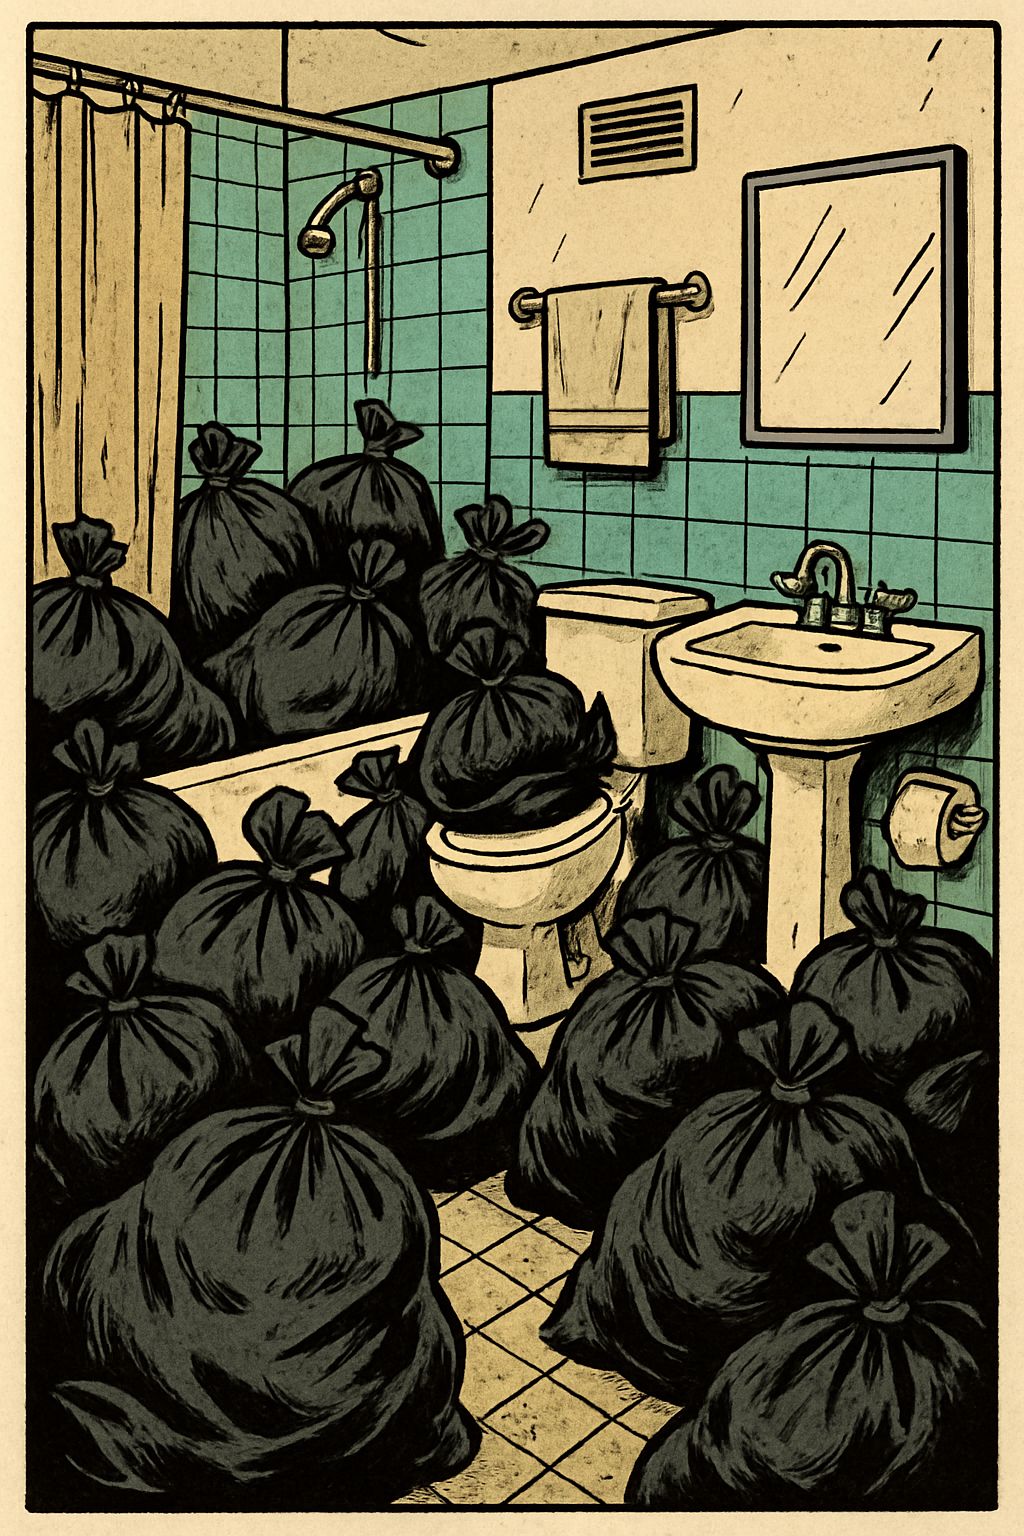
When disaster strikes and the toilet won’t flush, you have maybe 24 hours before human waste becomes a serious health hazard in your own home.
Most people stock water and canned food for emergencies, but almost nobody plans for what happens when the toilet stops working. That gap in preparation has real consequences. Understanding how to store and dispose of trash—especially human waste—during a crisis isn’t just about comfort. It’s about preventing the kind of disease outbreaks that have followed disasters from Haiti to Japan.
Why Trash Becomes Deadly When Systems Fail
Sewer systems seem invisible until they stop working. Then suddenly, every flush becomes a problem, and every day without a functioning toilet raises the stakes for your household’s health.
How One Gram of Waste Holds Millions of Pathogens
Here’s a number that should get your attention: one gram of human feces can contain 100 parasite eggs, 1,000 parasite cysts, 1 million bacteria, and as many as 10 million viruses. That’s not a typo. A single gram—about the weight of a paperclip—carries enough pathogens to make an entire household sick.
Without a functioning toilet, dangerous organisms like E. coli, Leptospirosis, hepatitis A, norovirus, Vibrio cholerae, and Salmonella enterica can spread quickly. Flies and rodents don’t discriminate—they’ll carry these pathogens straight to your food and drinking water if waste isn’t managed properly. Emergency planners in the Pacific Northwest didn’t invent this concern out of nowhere; they watched it play out after earthquakes in New Zealand and Japan, where inadequate toilet access became one of the most urgent post-disaster problems.
Build a Twin-Bucket Toilet for Under $20
The good news? You don’t need expensive equipment to solve this problem. The twin-bucket toilet system, adapted from New Zealand’s “long-drop” emergency toilet design, can be assembled for less than the cost of a dinner out.
- Two 5-gallon buckets (often free from bakeries or home improvement stores)
- Heavy-duty 13-gallon black plastic garbage bags, 3–5 mil thickness (“contractor” bags)
- Carbon material such as wood shavings, sawdust, shredded paper, bark chips, or peat moss
- A toilet seat/lid combo (found in camping store sections) or a pool noodle cut lengthwise
- RV toilet paper, which breaks down more easily than standard paper
- Disposable gloves and waterproof labels for each bucket
Once you’ve gathered supplies, the setup itself takes less than ten minutes. This isn’t complicated engineering—it’s a system designed to work when everything else has failed.
Materials You Need: Buckets, Bags, and Carbon Material
Start with two identical 5-gallon buckets. One becomes your “pee” bucket and stays unlined—urine alone doesn’t need bagging and can be diluted and disposed of directly. The other becomes your “poo” bucket, lined with a heavy-duty contractor bag strong enough to hold waste without tearing.
Carbon material is your odor and pathogen control system. Wood pellets, in particular, work well because they can regain their absorbent texture with just a bit of moisture from feces or a light misting of water before use. Keep a stash on hand—sawdust from a hardware store or shredded paper from your recycling bin both work. In situations where sanitation might fail, it’s crucial to have these materials ready. Learn more about what happens when sanitation fails to better prepare yourself.
The “No-Mix” Principle That Cuts Pathogen Risk
Separating urine from feces isn’t just tidiness—it’s science. Urine is largely sterile and low-risk, while feces carries the bulk of dangerous pathogens. When the two mix, you get faster bacterial growth, stronger odors, and a bigger volume of waste to manage. Keeping them apart from the start solves multiple problems simultaneously. The loss of a functional sewer system after a disaster can dramatically increase these risks.
This “no-mix” approach also reduces how often you need to empty each bucket. Since urine makes up a much larger volume than solid waste, separating it means your poo bucket—the harder one to manage—fills up more slowly. For more information on managing home utilities safely, check out this guide on hidden hazards in home utilities.
Step-by-Step Setup Instructions
Label your buckets clearly (#1 and #2, or something funny), and if your home is still structurally safe, set up both buckets inside an existing bathroom. This preserves privacy and a sense of normalcy during an already stressful time. If the home isn’t safe to occupy, you’ll need to find a separate location outdoors or in another secure structure—just make sure it’s easy to access, offers some privacy, and won’t attract pests. In such situations, it is crucial to know how to repair essential home utilities to maintain safety and functionality.
Store your toilet paper, plastic bags, gloves, and carbon material inside the buckets themselves when not in use. This keeps everything together and ready to go the moment you need it, rather than scattered across your emergency supplies.
How to Use Your Emergency Toilet Correctly
Building the twin-bucket system is only half the job. Using it correctly is what actually keeps your household safe from disease. A few simple habits make the difference between a functional sanitation system and a health hazard sitting in your bathroom. To ensure your home remains safe, consider mastering your home utilities to avoid hidden hazards.
The rules are straightforward, but they only work if everyone in the household follows them consistently—including kids old enough to use the toilet independently.
Keep Urine and Feces Completely Separate
Never urinate in the poo bucket. This single mistake undoes the entire purpose of the twin-bucket system. Urine mixing with feces is what produces the strong ammonia smell associated with traditional portable toilets, and it accelerates bacterial growth in the solid waste bucket.
After using the pee bucket, don’t drop your toilet paper in with it. Instead, place used paper in a separate plastic bag or directly into the poo bag. This keeps the pee bucket clean for easy dumping later and prevents soggy paper from clogging up your dilution-and-dispose routine.
Cover Waste With Carbon Material Every Time
Every single time someone uses the poo bucket, sprinkle about half a cup of carbon material—sawdust, wood shavings, shredded paper—directly over the waste until it’s completely covered. This isn’t optional. Covering waste immediately eliminates odor and stops flies from landing and breeding, which cuts off one of the main pathways pathogens use to spread to food and water sources.
After sprinkling the carbon material, put the lid back down loosely rather than sealing it airtight. Allowing some airflow helps the waste dry out over time, which reduces both volume and smell. A completely sealed bucket traps moisture and actually slows down the natural drying process.
Signs You’re Doing It Wrong
If your emergency toilet setup starts smelling strongly of ammonia, someone’s urinating in the wrong bucket. If flies are gathering around the poo bucket, waste isn’t being covered thoroughly enough with carbon material. And if the poo bucket feels heavier than expected for how often it’s been used, check whether toilet paper is being separated properly—wet paper adds significant weight and volume that carbon material alone won’t manage. For more insights on maintaining your home during emergencies, consider learning about things in your home you should know how to repair.
Safe Disposal Steps for Human Waste
Once your buckets start filling up, you’ll need a clear plan for getting waste out of your living space safely. This is where a lot of people freeze up—but the process is more manageable than it sounds once you know the steps. In situations where sanitation fails, having a reliable disposal method is crucial.
When and How to Empty the Pee Bucket
Empty the pee bucket once it’s roughly one-quarter full, or before it gets too heavy to carry safely. Add water to dilute the urine, then pour it onto the lawn or bare ground. Rotate the location each time you dump—concentrated urine in one spot can damage grass and soil chemistry over repeated use.
Double-Bagging the #2 Bucket Safely
Never let the poo bucket get more than half full before emptying it. When it’s time, put on disposable gloves first. Remove the liner bag, double-bag it by placing it inside a second heavy-duty bag, and seal it tightly. Store the sealed bag separately from regular household garbage, and keep it far away from food storage and water sources. Once the bucket is empty, reline it with a fresh contractor bag and it’s ready for continued use.
Where Never to Bury Waste
If you live in a rural area with space to work with, digging a latrine can be a reasonable option for longer-term waste management. But there’s a hard rule here: never bury waste within 100 feet of any water source, including wells, streams, or ponds. Contaminants can leach downhill through soil and reach groundwater far faster than most people expect, turning a sanitation solution into a drinking water crisis.
Consider the slope and drainage patterns of your property before choosing a burial site. Waste buried uphill from a water source—even at a distance—can still pose risks if heavy rain washes contaminants downhill. In situations where sanitation fails, understanding these risks is crucial for maintaining safety.
Urban and suburban households typically don’t have this option available at all, which makes bagging and storing waste the more realistic approach for most families.
Why Human Waste Cannot Go in Regular Trash
This surprises a lot of people, but bagged human waste cannot simply go out with your regular household garbage. It requires specialized treatment and should never end up in a standard landfill alongside food scraps and packaging waste. Instead, store sealed, double-bagged waste in a dedicated container—a separate garbage can or roll cart works well—until municipal sanitation services resume and can properly collect and treat it.
Make sure whatever container you use is secured against pets, flies, and rodents. A simple latching lid or a bungee cord wrapped around the lid can prevent animals from getting into the waste and spreading contamination further.
Hand Sanitizer: When It Works
Hand sanitizer feels like a convenient shortcut during a crisis, but it has real limitations that most people don’t realize until it’s too late. Understanding when sanitizer actually works—and when it doesn’t—can prevent a false sense of security.
The CDC recommends washing hands with soap and water whenever possible, specifically because hand-washing physically removes germs and chemicals rather than just reducing their activity. Sanitizer is a backup tool, not a replacement for proper washing.
Why Dirty Hands Make Sanitizer Useless
Hand sanitizer only works on hands that are already free of visible dirt, grime, grease, or debris. If your hands are visibly soiled—which is common after handling waste buckets, digging latrines, or working around disaster debris—sanitizer won’t cut through that layer to reach and kill germs underneath. In these situations, you need soap and water, or at minimum a wet wipe to physically remove debris before applying sanitizer.
Sanitizer also fails against certain pathogens entirely, and it does nothing to remove chemical contaminants like heavy metals, pesticides, or other toxins that might be present in soil, air, or water following a disaster. Many people also don’t apply enough sanitizer or don’t let it fully dry, which reduces its effectiveness even under ideal conditions.
The 60% Alcohol Rule
If soap and water aren’t available, look for hand sanitizer with at least 60% alcohol content. Anything lower doesn’t reliably kill the range of germs you’re likely to encounter during a sanitation crisis.
- Check the label for alcohol percentage before stocking sanitizer in your emergency kit
- Store sanitizer in multiple locations—by the toilet, near food prep areas, and in a grab-and-go bag
- Replace expired sanitizer, as alcohol content can degrade over time
- Keep wet wipes on hand as a first step for visibly dirty hands before applying sanitizer
Sanitizer works best as a middle-ground solution—better than nothing, but not a substitute for the real thing when soap and water are accessible.
Special Waste Situations You Can’t Ignore
Not every household has the same waste management needs. Families with young children, individuals who menstruate, and anyone managing mobility challenges all face unique considerations that a basic twin-bucket setup doesn’t automatically address.
Planning for these situations before a disaster hits means one less thing to figure out while you’re already stressed and short on resources. It’s also beneficial to understand the social side of self-reliance, as having a community can provide additional support during challenging times.
Diapers: Storage and Disposal Rules
If anyone in your household uses disposable diapers, keep an extra supply on hand as part of your regular preparedness kit, rotating stock so sizes stay current as children grow. Soiled diapers—whether infant or adult—should be bagged in the same heavy-duty 3–5 mil black plastic bags used for the poo bucket. Store and dispose of them the same way: sealed, separated from regular trash, and held until sanitation services return.
Menstrual Products: Why Cups Beat Pads in a Crisis
Anyone who menstruates should keep an extra supply of tampons, pads, or menstrual cups stocked as part of their preparedness kit. Interestingly, pads and tampons serve a dual purpose in an emergency—their high absorbency makes them useful as wound dressing in a first-aid situation if standard supplies run short.
Menstrual cups offer a distinct advantage during extended emergencies. They’re washable and reusable, meaning they don’t need to be changed as frequently as pads or tampons and produce far less waste to manage overall. This translates directly into less bagged material to store and dispose of, and reduced exposure to bodily fluids during handling. If you’re considering a menstrual cup for emergency use, it’s worth getting comfortable with one under normal circumstances first—a crisis is not the ideal time to learn a new routine.
Whatever product is used, soiled menstrual items follow the same disposal rule as everything else: bag them in heavy-duty plastic, keep them separate from regular garbage, and store them securely until proper waste services resume.
Mobility Challenges: Making Toilets Accessible
For older adults or anyone with balance and mobility challenges, positioning matters just as much as the toilet setup itself. Place the buckets somewhere sturdy chairs, railings, or grab bars can offer support during use. If standard bucket height feels too low, elevating the bucket on scrap wood or bricks can make a significant difference in comfort and safety, reducing the risk of falls during an already difficult time.
Alternative Toilet Options When Buckets Aren’t Enough
The twin-bucket system works well for most households, but it’s not the only option available. Depending on your situation—whether you have a partially functional toilet or prefer a store-bought solution—there are other paths to safe waste management.
Turning a Broken Toilet Into a Safe Commode
If your home still has a toilet but it simply won’t flush due to water or sewer disruption, you don’t need to abandon it entirely. Remove any standing water from the bowl first, then line the toilet with a heavy-duty plastic bag to use as a makeshift commode. Adding a small amount of disinfectant to the bag helps control both odor and pathogen growth.
Diluted liquid chlorine bleach mixed at a 1:10 ratio with water, or powdered chlorinated lime, both work well as disinfectants for this purpose. After each use, remove the bag, seal it tightly, and carry it outside to a closed container away from living spaces—following the same storage principles as the twin-bucket system.
Commercial Camp Toilets and Waste Bags
If building your own system isn’t appealing, plenty of outdoor retailers and disaster supply vendors sell ready-made waste management solutions. These range from simple portable camp toilets to full pressurized shower systems, some of which are solar powered for warm water access even without electricity.
Commercially made waste bags deserve special mention here. These bags contain powdered absorbent material along with bacterial enzymes that actually break down human waste at the chemical level. Because of this built-in treatment process, the entire sealed bag can go directly into regular trash—no separate storage or specialized disposal required. They cost more than DIY carbon material, but for households wanting a simpler solution, they’re worth the investment.
What Belongs in Your Emergency Sanitation Kit
Building your sanitation kit before a disaster strikes means you’re not scrambling for supplies while also dealing with structural damage, power outages, or injuries. A solid kit should cover at least seven days of use, since that’s the minimum timeframe emergency officials suggest planning for.
Your kit should include a seven-day supply of toilet paper, towelettes or wet wipes, soap or liquid detergent, and liquid hand sanitizer. Round it out with feminine hygiene supplies, general personal hygiene items, plastic garbage bags and ties, one or more 5-gallon buckets with tight-fitting lids, a plastic seat top designed for bucket use, and a solid supply of carbon material like sawdust, wood chips, or coffee husk chaff. A disinfectant such as household bleach or powdered chlorinated lime rounds out the kit as an optional but highly useful addition. Additionally, you might find it beneficial to learn basic woodworking skills for crafting or repairing your emergency supplies.
Don’t Wait for the Ground to Shake
Sanitation planning rarely feels urgent until the moment it becomes the most urgent thing in your household. Building a twin-bucket system, stocking your kit, and understanding proper disposal now—while you have time and access to supplies—puts you ahead of a problem that catches most people completely unprepared. Learn more about what happens when sanitation fails to better prepare yourself.
Frequently Asked Questions
Can I Just Bury Human Waste in My Backyard?
Only under specific conditions. Burial works as a disposal method in rural areas with adequate space, but you must dig at least 100 feet away from any water source, including wells, streams, or ponds. Contaminants can travel through soil and reach groundwater, so consider drainage patterns and slope before choosing a location. Urban and suburban households typically don’t have suitable space for this option at all.
How Long Can I Store Sealed Waste Bags Before Disposal?
Sealed, double-bagged waste can be stored safely for the duration of a typical emergency—often the full two weeks or longer that officials warn about following a major disaster. The key factors are proper sealing, secure storage away from food and water, and protection from pets and pests.
Storage location matters as much as duration. Keep bagged waste in a dedicated container with a secure lid, positioned away from your living space and any food storage areas.
Temperature also plays a role—warmer conditions accelerate bacterial activity inside sealed bags, so shaded, cooler storage areas are preferable when available.
Rule of thumb: if you can smell it through the container, it’s time to check your seal or consider double-bagging again before the situation worsens.
Is Bottled Water Enough for a Two-Week Emergency?
Bottled water covers drinking needs, but sanitation requires additional water for hand-washing and diluting urine before disposal. Plan for water needs beyond just hydration—stored water heater supplies, rainwater collection, or water filtration systems can supplement your bottled water reserves for these secondary purposes.
A standard water heater holds 60 to 80 gallons that can serve both drinking and sanitation purposes if the water hasn’t been contaminated, making it a valuable backup source many people overlook.
What If I Run Out of Carbon Material Like Sawdust?
Shredded paper works as an effective substitute when sawdust or wood shavings aren’t available. Cardboard torn into small pieces, dry leaves, or even finely shredded newspaper can serve the same odor-control and moisture-absorption function in a pinch.
Can Pets Use the Same Emergency Toilet System?
Pet waste should be managed separately from human waste systems. While the general principles of bagging and careful storage apply to both, mixing human and animal waste in the same containers increases contamination risk and complicates eventual disposal once sanitation services resume. Keep a separate labeled container specifically for pet waste, following similar sealing and storage practices as your human waste system.




Leave a Reply