
Article At A Glance
- Essential home repairs — painting, doors, caulking, faucets, and clogged toilets — are skills every homeowner should have in their toolkit.
- Proper surface prep is the single most important factor in getting a paint job that actually lasts.
- A dripping faucet is more than an annoyance — left unchecked, it can waste thousands of gallons of water per year.
- There are certain repairs you should never DIY — knowing where the line is can save you from costly mistakes.
- Most of these fixes require only basic tools and can be completed in under an hour once you know what you’re doing.
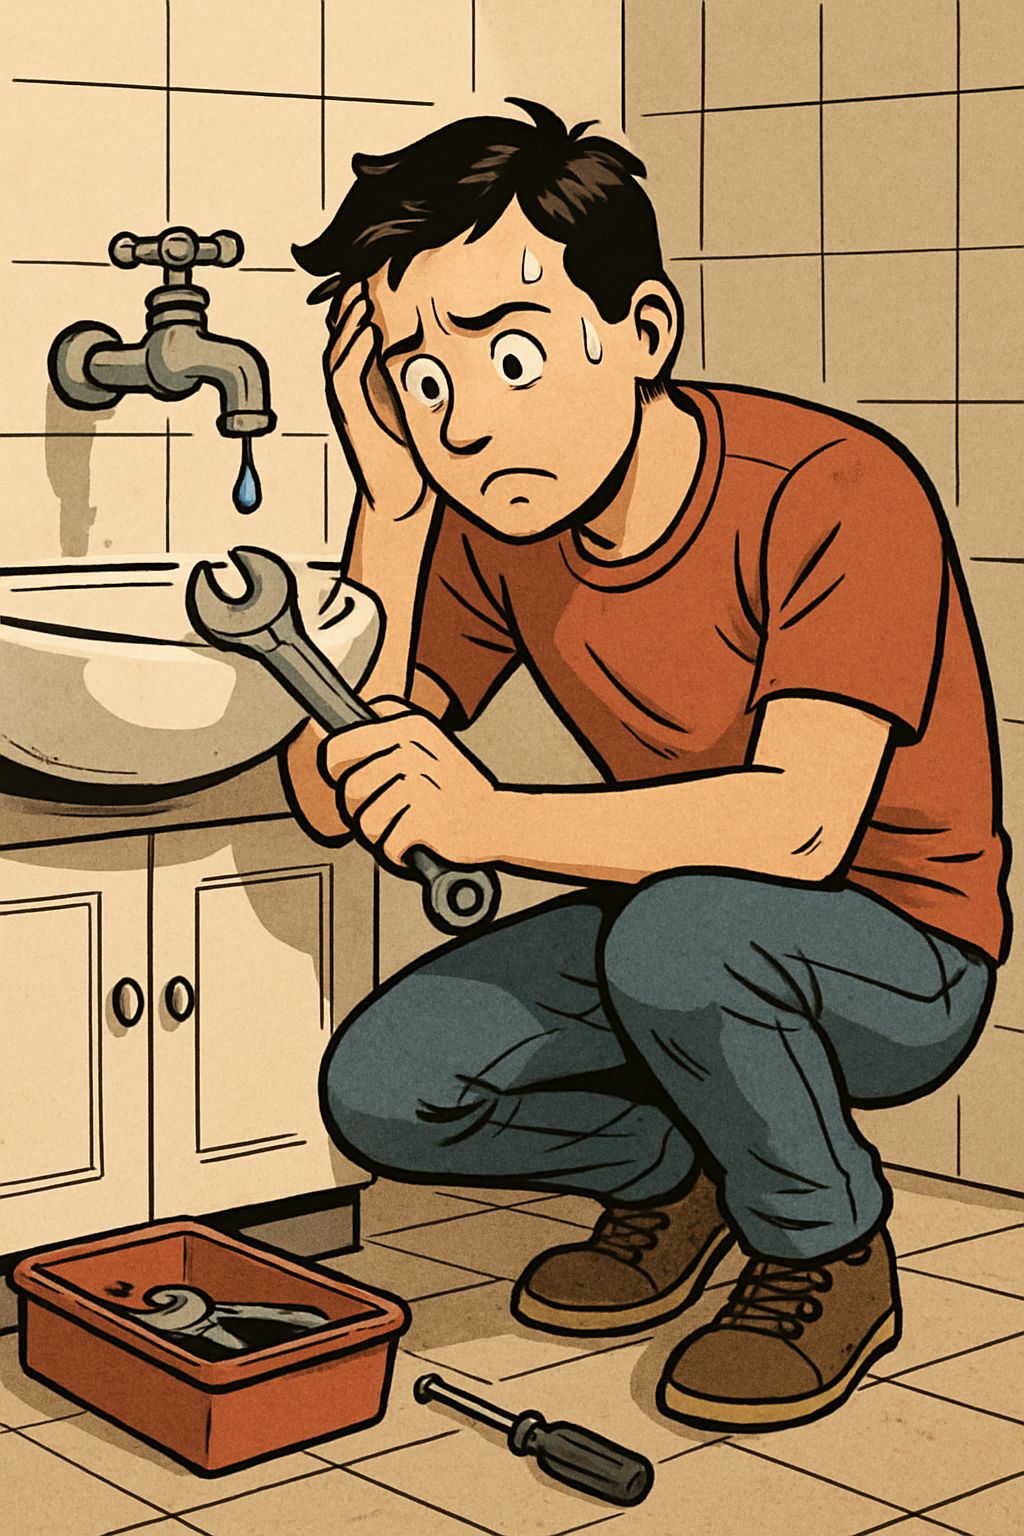
Most home repairs that send people scrambling for a contractor’s number are fixes you can absolutely handle yourself — if you know where to start.
The truth is, a handful of basic skills cover the majority of problems that come up in any home. Prep work, caulking, faucet repair — these aren’t trade secrets. They’re straightforward tasks that just require the right approach. Knowing how to handle them puts you in control of your timeline and your budget. Whether your door won’t close right, your faucet drips all night, or your paint job looks rough before it dries, this guide walks you through the five repairs every homeowner should know how to handle.
Stop Paying Contractors for Repairs You Can Do Yourself
Hiring a contractor for every small fix adds up fast. A plumber called out for a dripping faucet, a handyman for a sticking door, a painter for a single room — these costs are often completely avoidable. The repairs covered here don’t require specialized licenses, heavy equipment, or years of experience. What they do require is a little patience, the right tools, and knowing the correct sequence of steps.
That said, DIY has its limits. Some jobs — electrical panel work, gas line issues, structural repairs — should always go to a licensed professional. But the five repairs in this guide fall well within what a motivated homeowner can tackle confidently on a weekend.
Perfect Prep and Paint
Painting looks simple from the outside, but a paint job is only as good as what happens before the roller ever touches the wall.
Why Surface Prep Matters More Than the Paint Itself
You can buy the most expensive paint on the shelf and still end up with a finish that peels, streaks, or shows every imperfection — if you skip prep. Paint adheres to the surface beneath it. If that surface has grease, dust, old flaking paint, or unfilled holes, the new coat will eventually fail. Professional painters spend the majority of their time on prep, not on actual painting. That ratio should tell you everything.
Before you even crack open a can, the walls need to be clean. A solution of mild dish soap and warm water handles most grime. For kitchens or bathrooms where grease builds up, a TSP (trisodium phosphate) cleaner does a better job cutting through residue. Let the walls dry completely before moving on — any moisture trapped under paint will cause bubbling.
Pro Tip: Run your hand flat across the wall surface in raking light (light coming from a sharp angle). This reveals dips, bumps, and holes that are invisible under normal lighting — and every one of them will show through your finished paint coat if left unfilled.
How to Fill Holes, Sand, and Prime Before You Paint
Nail holes, small gouges, and hairline cracks are all fixed with lightweight spackle. Apply it with a putty knife, slightly overfilling the hole, then let it dry fully. Once dry, sand it flush with 120-grit sandpaper. For larger holes — anything over half an inch — use a setting-type compound like Durabond 45, which hardens chemically rather than just drying, giving you a stronger fill.
After sanding, wipe the wall down with a dry tack cloth to remove all dust. Then apply primer. Primer isn’t optional for any area you’ve sanded or filled — bare spackle is porous and will absorb paint unevenly, leaving dull spots called “flashing” in the finished coat. A single coat of a PVA drywall primer like Zinsser’s Bulls Eye 1-2-3 is enough for most interior walls.
The Right Way to Cut In and Roll Without Streaks
Cut in first — that means using a 2.5-inch angled brush to paint a 2 to 3 inch band along all edges: ceiling lines, baseboards, corners, and around trim. Do this while the wall paint is still wet so the cut-in blends rather than leaving a visible seam. Then immediately roll the main wall area using a 3/8-inch nap roller for smooth walls or a 1/2-inch nap for textured surfaces.
- Always roll in a W or M pattern to distribute paint evenly before filling in
- Keep a wet edge at all times — don’t let sections dry before overlapping them
- Apply two thin coats rather than one thick one to avoid drips and uneven coverage
- Let the first coat dry for at least 4 hours before applying the second
Correctly Diagnose Doors
A door that won’t close properly is one of the most common and most ignored problems in older homes — and it’s almost always fixable without replacing the door.
How to Diagnose Why Your Door Won’t Close Properly
Before you reach for any tools, watch where the door binds. Open and close it slowly and look at the gap between the door and the frame. A consistent gap all the way around points to a hardware problem — usually loose hinges. A gap that’s wide at the top and narrow at the bottom (or vice versa) suggests the door itself has swelled or warped, or the frame has shifted.
Loose hinge screws are the most common culprit and the easiest fix. If the screws spin without gripping, the holes have stripped out. Remove the screws, push wooden toothpicks dipped in wood glue into the hole, let them dry, snap them flush, then reinstall the screws. They’ll bite into the wood filler and hold firmly.
When to Plane, When to Tighten, and When to Call Someone
If tightening the hinges doesn’t fix the binding, the door itself needs to be planed down. Use a hand plane or a belt sander on the edge that’s catching. Take off small amounts at a time — you can always remove more wood, but you can’t put it back. Once the door swings freely, seal the raw wood edge with paint or primer to prevent future swelling from moisture absorption.
If the frame itself is visibly racked — meaning the entire door opening is out of square due to foundation settling or structural movement — that’s when you stop and call a professional. A leaning frame is a symptom of something bigger happening in the structure of the home.
Apply Caulk Around Windows, Tubs, and Doors Properly
Caulk is one of the cheapest, most effective materials in home maintenance — and one of the most neglected. A failed caulk seal around a tub or window isn’t just ugly. It’s an open invitation for water to get behind walls, into subfloors, and into framing where it causes rot and mold that can cost thousands to fix.
How to Remove Old Caulk Without Damaging the Surface
Never apply new caulk over old caulk. The new layer won’t bond properly to the surface, and it will fail faster than if you had started fresh. Use a plastic caulk removal tool or a utility knife to score along both edges of the old caulk bead, then peel it away. For stubborn residue, a dedicated caulk remover solution like DAP Caulk-B-Gone softens hardened caulk so it peels cleanly without you having to scrape aggressively.
Once the old caulk is out, clean the surface thoroughly. Any soap scum, mildew, or grease will prevent the new caulk from adhering. Wipe the area with isopropyl alcohol and let it dry completely before applying anything new. If there’s any mildew present, treat it first with a diluted bleach solution — one part bleach to ten parts water — rinse, and let it dry for at least 24 hours.
How to Apply a Clean, Even Bead of Caulk
Cut the tip of the caulk tube at a 45-degree angle, making the opening no larger than the gap you’re filling — usually about 3/16 of an inch for most tub and window applications. Apply steady, even pressure on the caulk gun trigger while moving at a consistent pace along the joint. Too slow and you’ll get a fat, uneven bead. Too fast and you’ll have gaps. Once the bead is down, wet your finger with water (for latex caulk) or a soapy water solution and drag it smoothly along the bead in one continuous motion to tool it into the joint and create a clean, concave finish.
The Most Common Caulking Mistakes That Cause Leaks
Most caulk failures come down to a few avoidable errors. Applying caulk to a wet or dirty surface is the biggest one — adhesion is everything with caulk, and any contamination breaks it. Using the wrong type of caulk is another frequent mistake. Kitchens and bathrooms need a 100% silicone caulk or a siliconized latex caulk rated for wet areas — standard paintable latex caulk will mold and shrink within months in a shower environment. Finally, skipping the tooling step leaves air pockets in the bead that become entry points for water.
Fix a Dripping Faucet
That slow, rhythmic drip from a faucet isn’t something to ignore and deal with later. Beyond the noise, a faucet that drips once per second wastes more than 3,000 gallons of water per year according to the U.S. Environmental Protection Agency — and that shows up directly on your water bill every month.
What Causes a Faucet to Drip in the First Place
Faucet Type vs. Common Cause of Dripping:
Faucet Type
Most Common Cause of Drip
Primary Fix
Compression (two-handle)
Worn rubber washer
Replace washer and seat
Ball faucet (single handle)
Worn springs or ball assembly
Replace ball kit
Cartridge faucet
Damaged cartridge
Replace cartridge
Ceramic disc faucet
Cracked or dirty ceramic disc
Clean or replace disc
The most common household faucet — and the easiest to repair — is the compression faucet, the classic two-handle type where you turn each handle to open and close the water flow. Inside each handle is a rubber washer that presses against a metal seat to stop water flow when the handle is closed. Over time, that washer wears down, hardens, or gets damaged, and water starts slipping past it. That’s your drip.
Before assuming it’s the washer, check where the drip is coming from. If water is dripping from the spout, the internal washer or cartridge is the culprit. If water is leaking from the base of the handle or around the stem, the O-ring seal is worn instead — a different but equally straightforward fix. Identifying the source first means you buy the right part before you disassemble anything.
Turn off the water supply at the shutoff valves under the sink before doing anything else. This sounds obvious, but it’s the step most first-timers skip — until they’re suddenly dealing with water spraying across the bathroom. Turn on the faucet after shutting off the valves to release any pressure left in the line before you open it up.
How to Replace a Faucet Washer Step by Step
- Shut off the water supply valves beneath the sink and open the faucet to release residual pressure.
- Remove the decorative cap on top of the handle (usually pried off with a flathead screwdriver) and unscrew the handle screw underneath it.
- Pull the handle straight off to expose the packing nut. Use an adjustable wrench to unscrew the packing nut counterclockwise.
- Pull out the stem and look at the bottom — you’ll see a rubber washer held in place by a brass screw. Remove the screw and pull out the old washer.
- Take the old washer to a hardware store to match the size exactly, or bring the whole stem. Install the new washer, reassemble in reverse order, and turn the water back on.
If the metal seat inside the faucet body feels rough or pitted when you run your finger across it, the new washer will wear out quickly against that damaged surface. A seat wrench (a simple, inexpensive tool) lets you unscrew and replace the seat at the same time — saving you from doing this job again in six months.
Unclogging a Toilet The Right Way
A clogged toilet is one of those situations where the wrong move makes everything significantly worse. The instinct to flush again to see if it clears is exactly what causes overflows. If the bowl isn’t draining after the first flush, stop flushing and reach for the plunger.
Most toilet clogs happen within the first few feet of the drain — in the trap built into the base of the toilet itself. That’s actually good news, because it means the blockage is close, accessible, and almost always reachable with the right tool and the right technique.
The Right Way to Use a Plunger
Not all plungers work equally well on toilets. A flat-cup plunger is designed for flat drains like sinks. For toilets, you need a flange plunger — the kind with an extended rubber flap that folds out from the bottom of the cup. That flange fits into the toilet drain opening to create a proper seal, which is what makes the plunging action actually work. Without a seal, you’re just splashing water.
Lower the flange plunger into the bowl slowly to avoid splashing, and position it so the flange seats into the drain opening. Push down gently on the first stroke to expel air from the cup — a sudden hard push on an air-filled cup sends water everywhere. Then use firm, steady up-and-down strokes, maintaining the seal throughout. After 10 to 15 strokes, pull the plunger up sharply to break the seal. If the water drains, the clog is cleared. If not, repeat the process two or three more times before moving to the next step.
When a Plunger Is Not Enough
If repeated plunging doesn’t clear the clog, the next tool to reach for is a toilet auger — also called a closet auger. This is a flexible cable with a curved guide tube designed specifically to navigate the toilet trap without scratching the porcelain. Feed the cable into the drain opening, rotate the handle clockwise, and push forward until you feel resistance. Keep rotating to either break up the clog or hook it so you can pull it back out. A toilet auger handles the clogs that plungers simply can’t reach.
If neither the plunger nor the auger clears it, the blockage is likely deeper in the drain line — past the toilet trap and into the main drain stack. At that point, the job moves beyond DIY territory. A drain snake long enough to reach the main line requires professional equipment, and forcing the wrong tool into a cast iron or older PVC stack can crack the pipe. Call a plumber rather than risk turning a $15 clog into a $1,500 pipe repair.
Home Repairs You Should Never DIY
Knowing what not to touch yourself is just as important as knowing what you can handle. These are the repairs where DIY attempts most commonly result in injury, code violations, or damage that costs far more to fix than the original professional service would have. Understanding the utility of self-awareness can help you make informed decisions about when to seek professional help.
- Electrical panel work — Replacing a breaker, adding circuits, or upgrading your panel requires a licensed electrician. Working inside a live panel without proper training is genuinely life-threatening.
- Gas line repairs — Any work involving gas supply lines, connectors, or appliance hookups should be handled exclusively by a licensed professional. A small leak can fill a space with explosive gas before you ever smell it.
- Structural repairs — Load-bearing walls, foundation cracks wider than 1/4 inch, or anything involving the structural integrity of the home needs a structural engineer’s assessment before any work begins.
- Main sewer line blockages — As mentioned above, deep drain line issues require professional equipment and expertise to avoid pipe damage.
- Roof work beyond minor patching — Working at height without proper fall protection and training carries serious injury risk, and improper roofing leads to leaks that damage everything beneath.
- Asbestos and lead paint removal — Homes built before 1980 may contain both. Disturbing these materials without proper containment and disposal protocols creates serious health hazards for your entire household.
Frequently Asked Questions
Here are the most common questions homeowners ask when getting started with basic home repairs — answered directly so you can get to work with confidence.
What Basic Tools Do I Need for Home Repairs?
Tool
What It’s Used For
Recommended Option
Adjustable wrench
Faucet repair, plumbing connections
Craftsman 10-inch adjustable wrench
Flathead & Phillips screwdrivers
Hinges, handles, outlet covers
Klein Tools 6-piece screwdriver set
Putty knife
Spackle application, caulk removal
Hyde 6-inch flexible putty knife
Caulk gun
Applying caulk around tubs, windows
Dripless ETS2000 caulk gun
Flange plunger
Clearing toilet clogs
Korky 99-4A beehive plunger
Toilet auger
Deep toilet clogs
General Wire Spring 3-foot closet auger
Hand plane or sanding block
Planing sticking doors
Stanley 12-220 block plane
Utility knife
Scoring old caulk, cutting materials
Olfa SK-4 safety knife
You don’t need a fully stocked workshop to handle the repairs in this guide. A solid starter kit covers the vast majority of common household fixes. Focus first on quality hand tools — a reliable adjustable wrench, a good set of screwdrivers, and a sturdy putty knife will see more use than almost anything else in your toolkit.
Avoid the temptation to buy the cheapest versions of everything. Tools like screwdrivers and wrenches that strip or bend under normal use make repairs harder, not easier, and they rarely last more than a project or two. Mid-range brands like Klein Tools, Stanley, and Craftsman offer professional-grade durability at prices that won’t break the budget.
Power tools aren’t necessary for the repairs covered here, but a cordless drill — something like the DeWalt DCD771C2 20V Max — is the single most useful addition to a beginner’s toolkit once you’re ready to expand. It handles everything from driving screws to mixing small batches of patching compound. For those interested in the utility of self-awareness in handling home repairs, understanding your tools can be as crucial as the repairs themselves.
How Do I Know If a Home Repair Is Too Advanced for Me to Do Myself?
The clearest signal is whether the repair involves systems that are regulated by building codes — electrical wiring, gas lines, plumbing supply lines, and structural modifications all typically require permits and licensed professionals in most jurisdictions. Beyond the legal question, ask yourself whether a mistake would be easily reversible or catastrophic. A poorly applied caulk bead can be redone in an afternoon. An incorrectly wired circuit can start a fire. If the failure mode of getting it wrong is dangerous or extremely expensive, bring in a professional.
Can Bad Caulking Cause Water Damage?
Yes — and it’s one of the most common sources of hidden water damage in bathrooms. When caulk around a tub or shower fails, water doesn’t just sit on the surface. It works its way behind the tile, into the wallboard, and down into the subfloor with every shower. By the time you see visible mold or soft flooring, the damage has often been building for months. Replacing rotted subfloor and water-damaged drywall behind tile routinely runs into thousands of dollars — a cost that a $6 tube of silicone caulk applied correctly would have prevented entirely.
How Much Water Does a Dripping Faucet Waste?
A faucet that drips at a rate of one drop per second wastes approximately 3,000 gallons of water per year, according to the U.S. Environmental Protection Agency. At faster drip rates — which are common as washers continue to wear — that number climbs significantly higher. A faucet dripping 10 times per minute adds up to around 500 gallons per month.
Beyond the environmental impact, that wasted water appears directly on your utility bill every month. In most U.S. cities, water rates average between $1.50 and $5.00 per 1,000 gallons, meaning a single dripping faucet can quietly add $5 to $15 or more to your annual water costs — and households with multiple dripping fixtures compound that figure quickly. Fixing a worn washer takes less than 30 minutes and costs under $2 in parts.
Is It Safe to Use a Chemical Drain Cleaner on a Clogged Toilet?
Chemical drain cleaners like Drano or Liquid-Plumr are not designed for use in toilets and should not be used in them. These products work through an intense chemical reaction that generates significant heat. In a toilet — where the liquid pools and sits rather than flowing through quickly — that heat can crack the porcelain bowl or warp the PVC components inside the tank. Instead, consider building a no-power hygiene station for emergencies.
Beyond the damage risk, most chemical drain cleaners are formulated to dissolve organic material like hair and grease. Toilet clogs are most commonly caused by paper or solid waste, which these chemicals are far less effective at clearing. You end up with a bowl full of caustic chemicals and a clog that’s still there — a situation that’s both dangerous and more difficult for a plumber to work around safely.
Stick with a flange plunger as your first response, a toilet auger as your second, and a licensed plumber as your third. That sequence resolves the overwhelming majority of toilet clogs without damaging your fixtures or exposing your household to harsh chemicals.




Leave a Reply