
- Most beginners waste money on gear before understanding what threats they actually face — a risk assessment should always come first.
- Skills beat stockpiles every time — knowing how to purify water, administer first aid, or navigate without GPS is worth more than any expensive kit.
- FIFO (First In, First Out) food rotation is one of the most overlooked systems in beginner preparedness, and ignoring it leads to hundreds of dollars in wasted supplies.
- Flying solo is one of the biggest vulnerabilities a new prepper can have — a trusted preparedness network multiplies your resilience dramatically.
- Read on to discover which of these 10 mistakes you might already be making — and exactly how to fix each one before the next emergency hits.
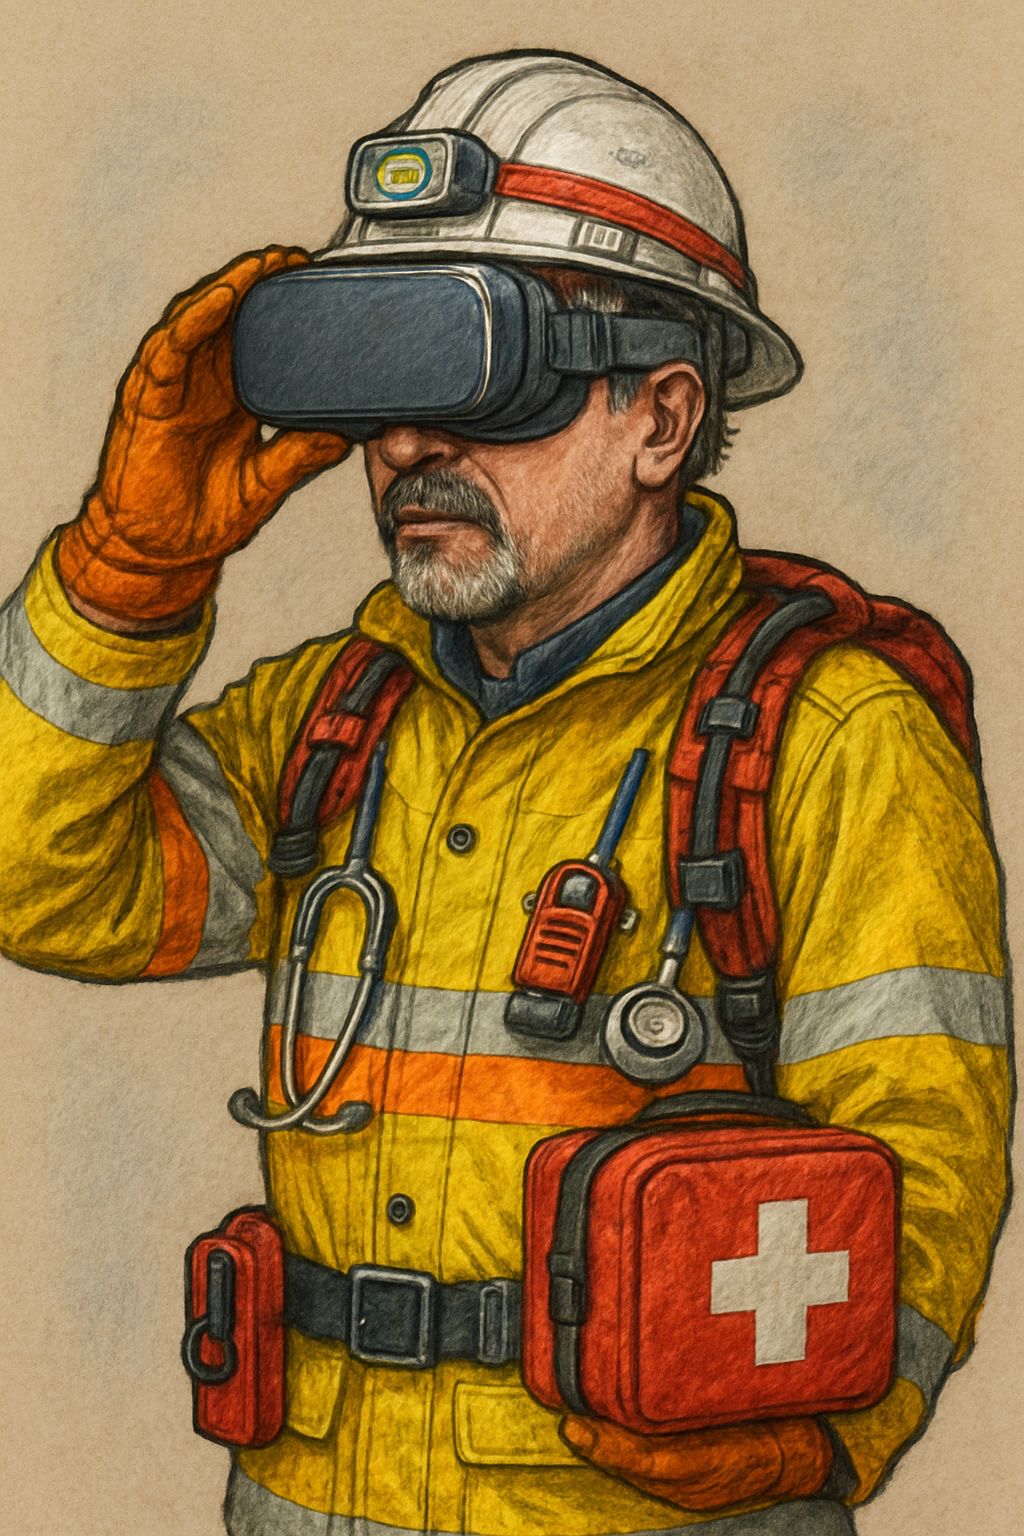
Most Beginners Get Preparedness Wrong From the Start
Most people start prepping the same way — something scary happens in the news, panic sets in, and they order a bunch of gear online without a real plan. It feels productive, but it’s one of the fastest ways to waste money and build a false sense of security.
The truth is, preparedness isn’t about how much stuff you own. It’s about how ready you actually are. There’s a big difference between a garage full of untested equipment and a household that can confidently handle a 72-hour power outage, a flash flood evacuation, or a prolonged supply chain disruption. Real readiness comes from planning, practicing, and prioritizing the right things in the right order.
Mistake 1: Buying Gear Before Doing Any Research
Walk into any outdoor retailer or scroll through prepping forums for ten minutes and you’ll feel the pull — tactical bags, water filtration straws, freeze-dried food buckets, solar chargers. It all looks essential. But buying gear before you’ve identified your actual risks is like packing for a trip without knowing your destination.
Why Impulse Buying Drains Your Budget Fast
Impulse purchases in the prepping world are extremely common and extremely costly. A beginner might spend $300 on a high-end bug-out bag before they’ve ever built a basic 72-hour home kit. They might stockpile MREs without first checking whether their family can actually tolerate the ingredients. Gear bought without a plan often sits unused, expires, or gets replaced once the buyer gets more educated — all of which burns through a budget that could have been used strategically.
How to Research Before You Spend a Single Dollar
Start with a simple risk assessment before opening your wallet. Ask yourself what emergencies are most likely in your specific area — hurricanes, earthquakes, winter storms, wildfires, or extended power outages. Then identify the gaps between what you currently have and what you’d need to survive those scenarios for 72 hours, then two weeks. Once you know your gaps, every dollar you spend becomes purposeful rather than reactive.
Mistake 2: Over-Sharing Your Preparations Online
Social media has made it easy to share everything — including things that are better kept private. Posting photos of your food storage, gear hauls, or even your general preparedness philosophy can expose you to risks you haven’t considered.
Why Social Media Posts Make You a Target
When people know you have a well-stocked pantry, a generator, or a large supply of medications, that information can work against you during an actual emergency. In a prolonged crisis, neighbors or strangers who are desperate will remember who was prepared. Over-sharing doesn’t just compromise your operational security — it can put your household at genuine risk when resources become scarce and tensions rise.
How to Check Your Privacy Settings and Geotags
Review your social media privacy settings and make sure your profiles are visible only to trusted connections. More importantly, disable geotagging on your photos — many smartphones automatically embed location data into images, which can reveal exactly where you live or store supplies. Keep detailed preparedness conversations to in-person discussions with people you genuinely trust.
Mistake 3: Trying to Prepare Alone
The lone-wolf prepper is a popular image, but it’s not a practical one. No single person can maintain watch, manage medical needs, source food, and handle security simultaneously during a prolonged emergency. Isolation is a vulnerability, not a strength.
Why a Network Beats a Solo Setup Every Time
A group of prepared individuals brings diverse skills, shared resources, and distributed labor — all of which dramatically increase resilience. One person might have medical training, another might know how to repair mechanical equipment, and a third might have agricultural knowledge. These skill combinations are far more valuable than any single person doubling down on gear alone. Community preparedness is consistently undervalued by beginners, yet it’s one of the highest-return investments you can make.
How to Build a Trusted Preparedness Group
You don’t need to recruit strangers from online forums. Start with neighbors you already trust, family members who are open to the conversation, or friends who share a concern for self-reliance. Keep the group small and focused. Establish shared goals — like everyone maintaining a two-week food supply — and meet regularly to check in, share skills, and run simple preparedness drills together.
Mistake 4: Ignoring the FIFO Storage Method
Food storage is a cornerstone of preparedness, but how you manage that storage matters just as much as how much you have. One of the most consistent beginner mistakes is storing food without any rotation system in place.
What FIFO Means and Why It Matters
FIFO stands for First In, First Out. It’s a storage method where the oldest items in your supply are always used first, and new purchases are added to the back of the shelf. It’s the same system used by grocery stores and professional food service operations — because it works. Without it, newer items get used first, older ones get pushed to the back and forgotten, and you end up with expired food that has to be thrown away.
The financial impact adds up fast. A beginner who stockpiles canned goods without rotating them might discover that dozens of cans expired two years ago — representing real money lost and a false picture of how prepared they actually are. Proper FIFO management means your supply is always live, always usable, and always accurately reflecting your actual readiness level.
How Ignoring FIFO Leads to Wasted Food and Money
Without a rotation system, it’s almost guaranteed that food will expire before it gets used. A common scenario: a beginner buys canned goods in bulk, stacks them in a closet, then buys more the following month and stacks those on top. Six months later, the oldest cans are buried at the bottom, long past their best-by date. That’s not a storage system — that’s a slow drain on your budget disguised as preparedness.
The waste isn’t just financial. Expired food creates a false sense of security. You might believe you have a two-week supply when in reality half of it is no longer safe or palatable to eat. In an actual emergency, discovering that your food stores are compromised is exactly the wrong time to find out.
How to Set Up a Simple FIFO Rotation System
The setup is straightforward. Use shelving where you load new cans from the back and pull from the front. Label everything with the purchase date using a permanent marker — don’t rely on the printed expiration date alone. Do a quarterly review where you pull everything forward, check dates, consume anything approaching expiration, and restock from the back. A basic spreadsheet or even a handwritten log tracking what you have and when it expires makes this process take less than 30 minutes every three months.
Mistake 5: Stockpiling Gear Instead of Building Skills
Gear is only as useful as the person operating it. A beginner can spend thousands of dollars on water filtration systems, emergency radios, and medical kits — and still be dangerously unprepared if they’ve never learned the skills to use any of it effectively under pressure.
Why Gear Without Skills Is Useless in a Crisis
Consider a basic example: a Sawyer Squeeze water filter is an excellent piece of equipment. But if you’ve never practiced back-flushing it to maintain flow rate, it will clog and fail you at the worst possible moment. The same goes for tourniquets, fire starters, ham radios, and navigation tools. Gear requires practice to become an actual capability — without that practice, it’s just expensive clutter. To truly enhance your preparedness, focus on skills that could be more valuable than gear.
Emergencies are high-stress, high-stakes situations that compress your decision-making window dramatically. Skills that are trained become automatic. Skills that are only read about fall apart under pressure. The most resilient preppers consistently prioritize training over purchasing.
The Core Skills Every Beginner Should Learn First
Rather than trying to learn everything at once, focus on the highest-impact skills first. These are the areas that cover the widest range of emergency scenarios:
- First aid and CPR — Take a certified course through the American Red Cross or equivalent organization. Know how to treat wounds, manage shock, and respond to cardiac events.
- Water purification — Understand boiling times, chemical treatment with unscented bleach, and how to operate your specific filtration equipment.
- Fire starting — Practice with multiple methods: lighter, waterproof matches, ferro rod, and friction-based techniques.
- Navigation — Learn to read a topographic map and use a baseplate compass without relying on GPS.
- Food preparation without power — Practice cooking on a camp stove, open fire, or rocket stove using only your stored supplies.
Mistake 6: Owning Gear You Don’t Know How to Use
This is the natural companion to Mistake 5, but it deserves its own spotlight. Many beginners own gear they’ve never opened, tested, or practiced with — and they don’t discover the problem until a real emergency forces the issue. A ham radio still in the box provides zero communication capability. A water filter you’ve never assembled will take critical time to figure out when clean water is already running out. The fix is simple but requires discipline: every piece of gear you acquire should be unboxed, read through, and practiced with at least once before it goes into storage.
Mistake 7: Not Keeping a Supply Inventory
Most beginners have a general sense of what they own — but a general sense isn’t good enough when an emergency is unfolding and you need to know exactly what you have, where it is, and how long it will last. Without a written inventory, your preparedness is effectively invisible to you. To get started, consider that self-sufficiency starts with small daily decisions like maintaining a detailed supply list.
An inventory also prevents wasteful duplicate purchasing. Without one, it’s easy to buy more of what you already have while remaining completely blind to critical gaps. You might own four flashlights and zero water purification tablets — and not realize it until you actually need clean drinking water.
What Happens When You Don’t Track What You Have
Beyond the financial waste, an untracked supply creates dangerous uncertainty during an actual crisis. You won’t know how many days of food you have left, whether your medication supplies are current, or if your batteries are still charged. Decision-making during emergencies requires reliable information — and your inventory is the foundation of that information. To avoid these common prepping mistakes, it’s crucial to maintain an accurate inventory.
Expiration dates go unchecked. Equipment degrades or gets borrowed and not returned. Quantities that felt substantial turn out to be far less than assumed. All of these problems are invisible without a tracking system, and all of them have a direct impact on how long you can sustain yourself when it matters most.
How to Build a Simple Inventory System That Works
You don’t need special software. A Google Sheets spreadsheet with columns for item name, quantity, location, expiration date, and last-checked date is more than sufficient. Update it every time you add or use a supply. Set a calendar reminder to review the full inventory quarterly. If you prefer physical records, a dedicated notebook stored with your emergency supplies works just as well — the format matters far less than the habit of maintaining it consistently.
Mistake 8: Not Knowing the Risks in Your Area
Generic preparedness plans assume generic threats — and generic threats don’t exist. Someone living in coastal Florida faces completely different risks than someone in rural Montana or urban Chicago. Building your preparedness plan without first identifying your specific regional threats means you could be perfectly prepared for the wrong emergency. To make informed decisions, consider using decision-making frameworks for preparedness.
Why Generic Preparedness Plans Often Fail
A plan built around earthquake preparedness won’t help much during a category 4 hurricane. A plan focused on blizzard survival won’t address wildfire evacuation. When beginners follow one-size-fits-all advice without filtering it through their actual local risk profile, they end up with supplies and plans that don’t match the scenarios they’re most likely to face. The result is a preparedness setup that looks complete on paper but has real functional gaps where they matter most. For more insights, consider exploring the psychology of preparedness to better tailor your plans.
How to Identify the Most Likely Threats Where You Live
Start with your local emergency management agency’s website — most counties publish hazard mitigation plans that clearly list the top threats in your region, ranked by probability and historical frequency. Cross-reference that with FEMA’s risk maps, historical weather data, and any local knowledge about infrastructure vulnerabilities like aging water systems or flood-prone roads. From that list, build your preparedness plan around the top three to five most likely scenarios, then expand outward from there. For a comprehensive approach, consider incorporating the preparedness mindset for the modern world into your strategy.
Mistake 9: Limiting Yourself to One Plan or Location
A single plan is a fragile plan. Emergencies rarely unfold the way you expect, and the scenario that forces you to act might be the exact scenario that makes your primary plan impossible to execute. Your bug-out route might be flooded. Your designated meeting point might be inaccessible. Your stored supplies might be in the part of the house that’s now unsafe to enter.
Redundancy is one of the core principles of serious preparedness, and it applies to plans just as much as it applies to gear. Every critical element of your preparedness strategy — your evacuation route, your communication plan, your supply cache, your shelter option — should have at least one backup. A Plan B isn’t pessimism; it’s the difference between adapting quickly and being caught completely off-guard when your first option disappears.
How to Build Backup Options Into Your Strategy
Map out at least two evacuation routes from your home — one primary and one that takes a completely different path. Identify a secondary rally point for your household, at least one that’s outside your immediate neighborhood. Keep a smaller cache of supplies at a secondary location if possible, whether that’s a trusted family member’s home, a storage unit, or even a well-stocked vehicle. The goal isn’t to prepare for every possible scenario — it’s to make sure that no single point of failure can collapse your entire plan. For more insights on preparedness, consider learning about skills that could be more valuable than gear.
Document your backup plans in writing and make sure every member of your household knows them. A plan that only exists in your head disappears the moment you’re separated from your family or incapacitated. Written plans, stored in at least two locations, keep everyone on the same page regardless of what unfolds.
Mistake 10: Planning Without Ever Practicing
Reading about preparedness and actually being prepared are two entirely different things. You can consume every book, blog, and forum thread on emergency preparedness and still freeze up completely when a real crisis hits — because knowledge that’s never been tested under any kind of stress doesn’t translate to reliable action under high stress.
This is what experienced preppers call armchair prepping. It feels productive. You’re learning, researching, planning. But without practice, that knowledge has no muscle memory behind it, no real-world feedback, and no proven reliability when it counts.
Why Armchair Prepping Creates a False Sense of Security
The danger of armchair prepping isn’t just that it leaves gaps in your readiness — it’s that it actively hides those gaps from you. When you’ve read extensively about something, you can feel confident in your ability to execute it, even when you’ve never actually tried. That false confidence is more dangerous than acknowledged ignorance, because it means you won’t seek out the practice and correction you actually need until a real emergency forces the issue.
Simple Drills and Tests You Can Run at Home Today
You don’t need elaborate scenarios to start building real-world preparedness skills. Start with these practical drills that expose gaps fast:
- 72-hour power outage simulation — Turn off your main breaker for a weekend. Cook only from your stored supplies, use only your emergency lighting, and navigate without the internet. You’ll discover gaps in your plan within hours.
- Timed evacuation drill — Set a timer for 10 minutes and see how quickly your entire household can be packed and ready to leave with your bug-out bags. Then do it again at night, and again in the rain.
- Water-only challenge — Shut off your home water supply for 24 hours and rely entirely on your stored water. Calculate exactly how much your household actually uses per day versus what you assumed.
- Communication blackout drill — Remove smartphones from the equation for 12 hours and test whether your household can communicate using only your backup methods — written notes, pre-arranged meeting points, or a two-way radio like the Midland GXT1000VP4.
- First aid scenario practice — Run a mock injury scenario with your household and time how long it takes to locate your kit, identify the right supplies, and walk through the correct treatment steps.
Each of these drills will reveal something your research didn’t. That’s the entire point. Finding gaps during a controlled practice run is infinitely better than discovering them during an actual emergency.
Fix These Mistakes Before the Next Emergency Hits
Preparedness isn’t a destination — it’s a practice. Every mistake on this list is fixable, and none of them require a massive budget or a radical lifestyle change. Start by auditing where you are right now: Do you have a written inventory? Have you done a risk assessment for your area? Have you ever actually practiced your evacuation plan? Identify your weakest area and fix that one first. Then move to the next. Consistent, focused improvement over time is what separates genuinely prepared households from those with a false sense of security built on unread gear manuals and untested assumptions.
Frequently Asked Questions
What Is the First Thing a Beginner Should Do to Start Preparing?
The first step is a risk assessment, not a shopping trip. Before spending a single dollar, identify the three to five most likely emergencies in your specific geographic area. Check your local county emergency management website, review FEMA hazard data, and consider your household’s specific vulnerabilities — medical needs, mobility limitations, pets, infants.
Once you know your risks, build a basic emergency plan that covers shelter-in-place and evacuation scenarios. Include a communication plan so every household member knows where to go and how to reach each other if separated. Only after that plan is documented should you start identifying the gear and supply gaps you need to fill.
From there, focus on the fundamentals: water (one gallon per person per day), food (start with a 72-hour supply and work toward two weeks), basic first aid supplies, and a battery-powered or hand-crank emergency radio like the Midland ER310. Build systematically rather than reactively, and you’ll make real progress with every step.
How Much Money Do I Need to Start Prepping?
You can build a meaningful foundation for well under $200 if you’re strategic about it. The key is prioritizing high-impact, low-cost items first and resisting the pull of expensive tactical gear until the basics are covered.
- Water storage — Food-grade 5-gallon water containers run $10–$15 each. Start with enough to store one gallon per person per day for 72 hours.
- Food supply — Canned goods from your regular grocery store are the most cost-effective starting point. Target non-perishables your household already eats.
- First aid kit — A comprehensive kit like the Surviveware Large First Aid Kit costs around $70 and covers the vast majority of common emergency medical needs.
- Emergency radio — A hand-crank NOAA weather radio starts around $30 and provides critical information during power outages.
- Lighting — A reliable headlamp like the Black Diamond Spot 400 runs about $45 and leaves your hands free during power outages.
Avoid the temptation to spend big on a pre-packaged “survival kit” from a retailer. Most of these kits are overpriced, contain low-quality components, and don’t match your specific needs. You’ll get far more value building your own kit piece by piece, based on your actual risk assessment.
Once the fundamentals are covered, you can invest in more specialized equipment — a quality water filter like the Sawyer Squeeze ($35), a portable camp stove, or communication tools. Preparedness is a long-term investment, not a one-time purchase, so pace your spending to match your plan rather than your anxiety. For more insights on building resilience, consider exploring why self-sufficiency starts with small daily decisions.
How Long Should My Emergency Food Supply Last?
FEMA’s baseline recommendation is a minimum 72-hour supply, but most experienced preppers consider two weeks the realistic starting target for household food storage. A two-week supply covers the majority of natural disasters, extended power outages, and supply chain disruptions without requiring the infrastructure of a long-term food storage program. Once you’ve hit two weeks comfortably, work toward 30 days, then 90 days, expanding gradually as your budget and storage space allow.
Is It Safe to Talk About Prepping With Neighbors?
It depends entirely on the neighbor and how you frame the conversation. Discussing general emergency readiness — having extra food, a first aid kit, or a communication plan — is reasonable and can actually strengthen your community’s collective resilience. Encouraging neighbors to build their own supplies reduces the likelihood that they’ll need yours in a crisis.
What you want to avoid is giving anyone a detailed inventory of exactly what you have and where it’s stored. Keep conversations focused on general readiness principles rather than specific quantities, locations, or specialized gear. Trusted neighbors who are themselves prepared are an asset. The goal is to build a community of prepared households, not to advertise yourself as the neighborhood supply depot. For more insights, explore skills that could be more valuable than gear.
How Often Should I Review and Update My Preparedness Plan?
A full plan review should happen at minimum twice per year — many experienced preppers tie it to daylight saving time changes in spring and fall, the same reminder used for smoke detector battery replacements. During each review, check expiration dates on food and medications, test equipment, update your inventory, and verify that contact information and meeting points in your communication plan are still accurate.
Beyond the scheduled reviews, update your plan any time there’s a significant life change — a new baby, a household member developing a medical condition, a move to a new area, or a change in your local risk profile. Your plan should always reflect your current household reality, not the circumstances that existed when you first built it. Consider adopting decision-making frameworks for preparedness to ensure your plan is adaptable and effective.



Leave a Reply